
The card will be erased
Make Bootable replaces the selected card. Copy anything you need elsewhere first. Identify the actual card and reader before you confirm.
What you need
- A Windows PC with DiskSnap and permission to approve an administrator prompt.
- A Raspberry Pi, suitable power supply, microSD card and compatible reader. For this guide, use a display and keyboard for the Pi's initial setup.
- A Raspberry Pi OS image compatible with your Pi model. Check the compatibility list on the official Raspberry Pi OS downloads page. That page also offers Raspberry Pi Imager as an alternative.
Choose the right image
Download Raspberry Pi OS for the Pi, not the separate Raspberry Pi Desktop image for PC and Mac. Keep the original file name so you can identify the edition later. DiskSnap accepts .img, .img.xz and .img.gz files. Choose a format offered by the official image publisher.
DiskSnap writes an image. It does not provide Raspberry Pi Imager's preconfigured account or network setup. Follow Raspberry Pi's setup instructions for the edition you choose.
Identify the card before starting
Disconnect unrelated removable drives where practical. Insert the card into the reader and refresh DiskSnap's drive list. Windows may show the reader's generic name rather than the card brand. Check capacity and serial number where available. If you cannot identify it confidently, stop.
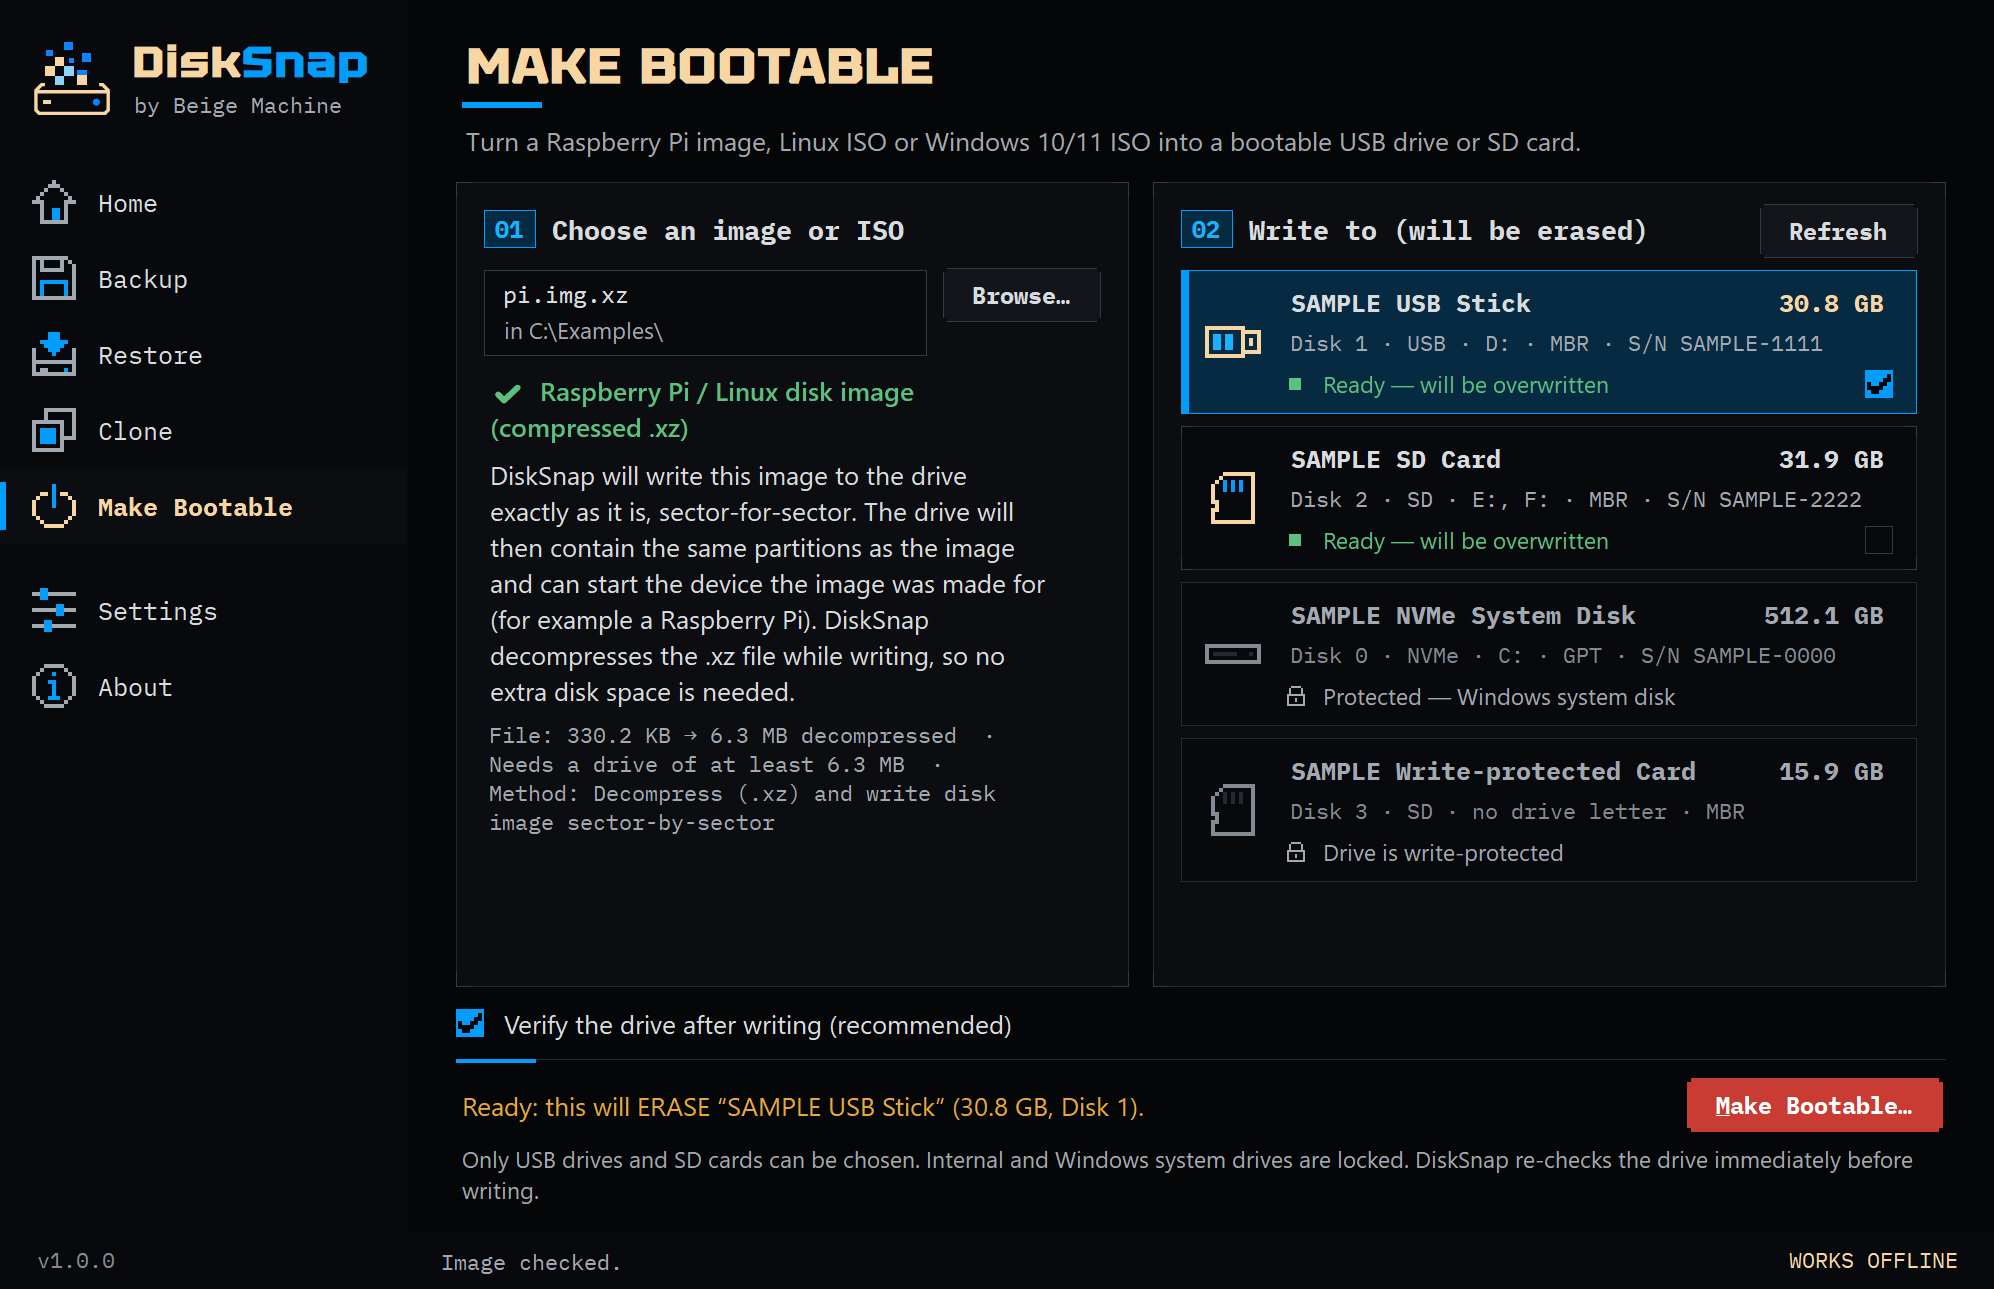
Write the image
- Open Make Bootable and browse to the downloaded image.
- Read the detected image type and minimum drive size. Choose the identified card as the target; it must be large enough for the uncompressed image.
- Leave verification enabled. Select Make Bootable…. If asked to restart as administrator, approve the Windows prompt, then reselect and recheck the card.
- Read the final confirmation. Match its target name, size and available identifiers to the card you intend to erase. Complete the safety checkbox and type ERASE only when you are certain.
- Wait for writing and verification to finish. Do not remove the card during the operation. A cancelled or failed write may already have changed the card.
- Check that writing completed and verification passed. If Windows asks to format a partition afterwards, cancel that prompt: Windows cannot read every Linux filesystem.
Start the Raspberry Pi
After DiskSnap has finished, safely remove the card from Windows. With the Pi powered off, insert the card, connect its display and keyboard, then connect power. Follow the on-screen setup for your chosen Raspberry Pi OS edition.
A verification pass checks the written data; booting the Pi is a separate check. If it does not start, confirm that the image supports the exact Pi model, and check the power supply and card connection. Avoid repeated rewrites before checking those basics.
Keep the working setup
Once the Pi is configured, shut it down properly before removing the card. You can use Backup with Verify to save the whole card as a .dsnap file. Restore needs a target at least as large in bytes as the original, even if the backup file is small.
If something goes wrong
- Card absent or locked: check the reader, adapter lock and the drive discovery advice.
- Verification failed: keep the original image and treat the card as unreliable until the issue is resolved. Check the reader and card before relying on the result.
- Windows offers to format: cancel it. Do not erase a successfully written Pi card just because Windows cannot browse every partition.